 Special Features
Breast Form Project
Filler (New procedure)
Special Features
Breast Form Project
Filler (New procedure)
|
annie's place
Special Features
Breast Form Project
Filler (New procedure)
|
This will give simple instructions for making the filler (boob goo) that will require less manual effort than the original method, and will give more satisfactory and more consistent results.
One major problem with the original method is that if the goo is not fully mixed, it will separate over time, into a rather hard mass and milky liquid. This method uses brute force to insure adequate blending and mixing.
You will need a rather powerful blender, such as a Waring or Osterizer. I tried the same procedure using an old Hamilton-Beach malted mixer, but the blender worked much better. You will be making something that is slightly thicker than a thick fountain milkshake. I know some of the cheaper blenders will dog down on hard ice cream.
Ingredients: (for about 22 fl oz of goo)
What I believed was the 8 oz size of Elmers has apparently been micro-resized, and is now 7.6 oz or so. No big problem, but you will now have slightly less goo from each batch.
Detailed Procedure:
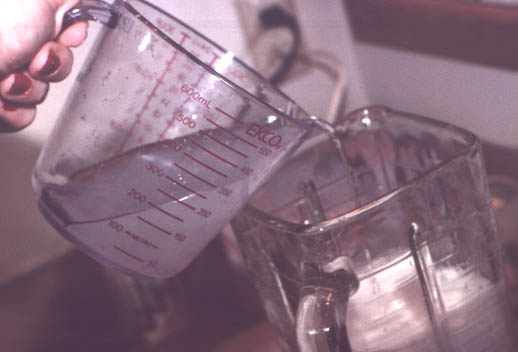
Step 1. Empty the 7.6 oz bottle of glue into the blender.
| Step 2. Fill measuring cup with 7.6 oz of H2O. |
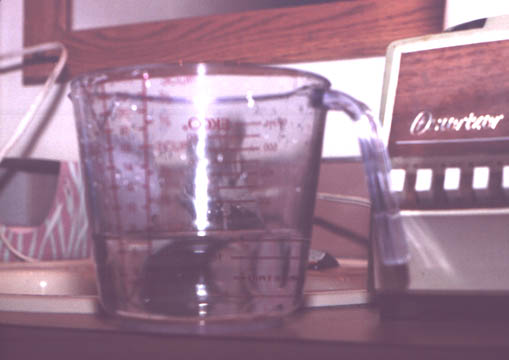
|
|
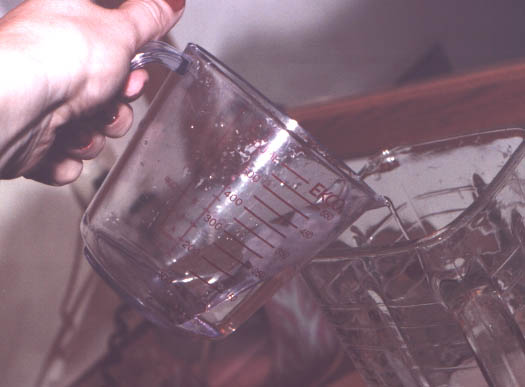
Step 3. Pour some of this H2O in empty glue bottle,
shake well, empty into blender. Discard bottle. |

|
| Step 4. Pour remainder of H2O into blender. |
|
|
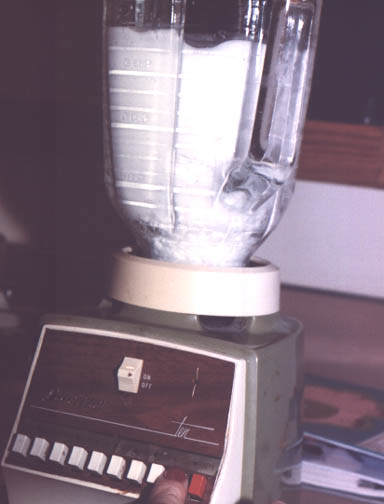
Step 5. Cover and run on a low setting such as
STIR or MIX for a few seconds. You should mix these, but not introduce too much air. |
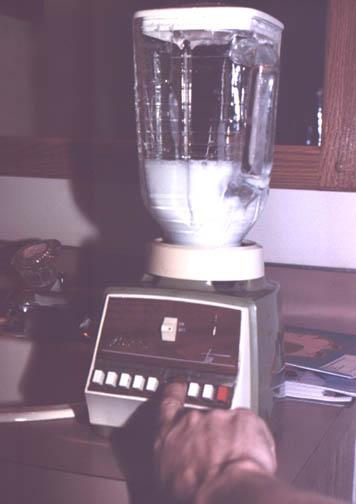
|
If mixture has bubbled or foamed, let sit until it settles.
| Step 6. Measure 7.6 oz of borax solution. |
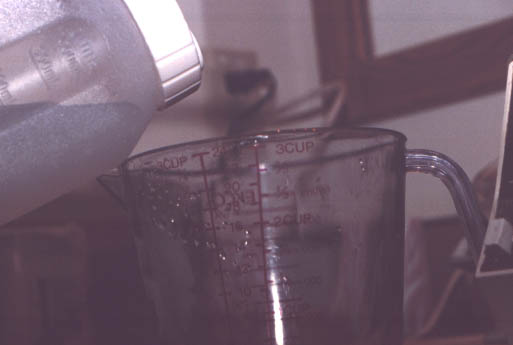
|
| Step 7. Pour borax solution in blender. |
|
|
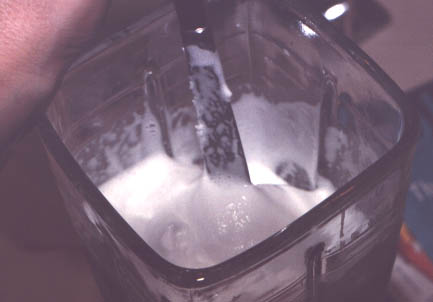
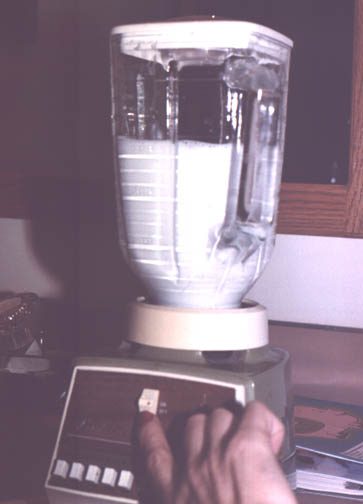
Step 8. Cover and run on high for a
few seconds until mixture thickens. |
|
|
Step 9. With blender still running on high,
uncover and assist mixing with knife, rod, etc. |
|
|
BE CAREFUL NOT TO LET YOUR INSTRUMENT
CONTACT THE ROTATING BLADE! |
|
| Step 10. Add a drop or two of red and green food coloring. |
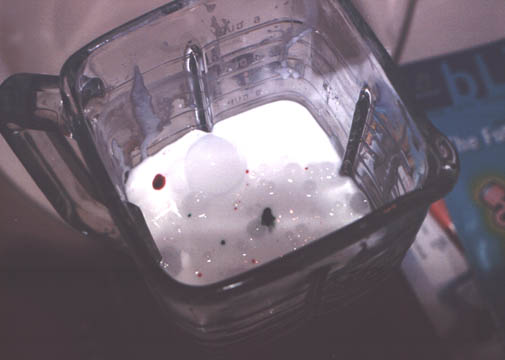
|
|
This will help to see how the mixing is going.
When the goo is thoroughly mixed, no blobs of color will be seen, and the color should be almost imperceptable. |
|
|
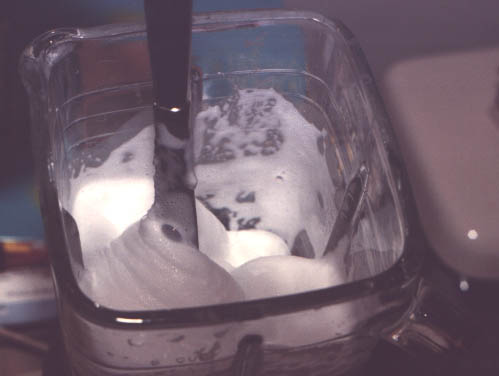
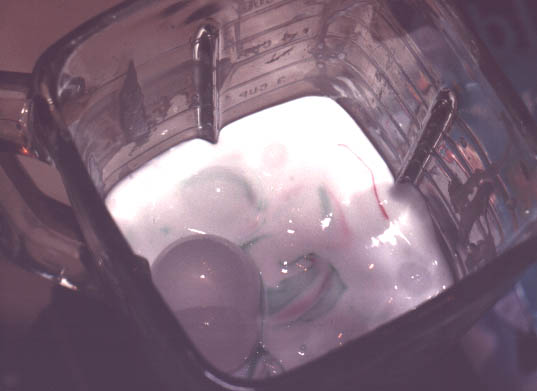
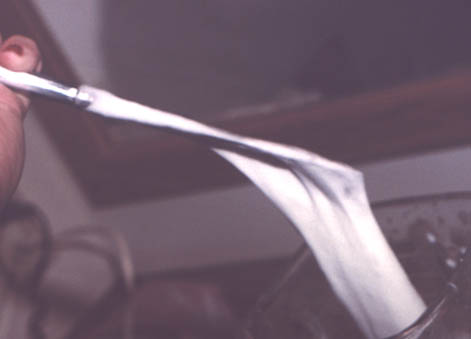
Step 11. Blend for several minutes. Mixture should be totally
free of any lumps or any blotches of color. |
|
| It should slowly run off a knife or rod as shown. |
|
If the mixture should be too thick for your blender to mix without bogging down, add H2O carefully, one ounce or so at a time, until the correct consistency is realized. Blend very thoroughly after each addition of H2O.
When properly prepared, it will slowly run off a knife or rod. If it sticks to it in one large lump, or stalls the blender, add a SMALL amount of H2O and blend thoroughly.
Don't attempt to thicken the mixture by adding more glue or borax. Ain't gonna work. If the mixture is too runny, let it sit in a warm dry room for a few hours to partially evaporate, and blend until smooth.
Step 12. When mixing is complete, empty goo into bag or storage jar.
Step 13. Clean up yer mess !!!
|
Clean-up is very easy. After goo is removed from blender, fill most of
the way with H2O, cover, run on high for a few seconds. Rinse, repeat. :) |

|