
This page is intended for those who wish to create a MyDLV blog but do not have any experience with blogging or with the methods used to create and manage a blog.
The Very Basics:
What is a Blog?
The term “blog” is short for “weblog” or “web log”, which is a collection of information that you (the “blogger”) wishes to share with viewers on the Internet.
There are literally millions of blogs on the Internet, most of which are published by individuals.
The typical blog consists of a series of entries known as “posts” which are written by the blogger. Blogs may have text, photos, illustrations, videos, etc. Most blogs allow viewers to respond to posts by entering comments.
Bloggers use on-line software such as WordPress to create and manage blogs.
What do I need to start a blog?
You need a computer, obviously, one which is connected to the Internet and has a web browser such as Firefox or Internet Explorer.
In order to create and manage a blog on this site, you also need a MyDLV account, which is very easy to create. Chances are you already have this.
That’s about it. We have the software known as WordPress for you to use in creating and managing your blog. Most everything is point-and-click.
Getting Started.
To get a blog going, simply request that a blank new blog be created for you. A simple e-mail note to tech@geekbabe.com will get this done for you. Please give your MyDLV login name, and the desired name for your blog if you wish it to be different from your MyDLV user name.
The first steps.
Once a new blank blog is created for you, the first step is to log in to the “dashboard”, which is the “control panel” for your blog. You will need to be logged in to MyDLV to access your dashboard. You log in the same way you log in to MyDLV to post messages in the forum. If you don’t have the link handy, bookmark this link as your login is your “key” to the blog as well as many other MyDLV functions.
We will take you through the steps of accessing the dashboard for your blog and creating a test post.
If you are unfamiliar with logging in to MyDLV, visit this link and the login screen pictured below will appear:
http://www.geekbabe.com/dlv/mydlv/mainforum/ucp.php?mode=login
(Please note that in this article, you may click on any of these images for a larger view.)
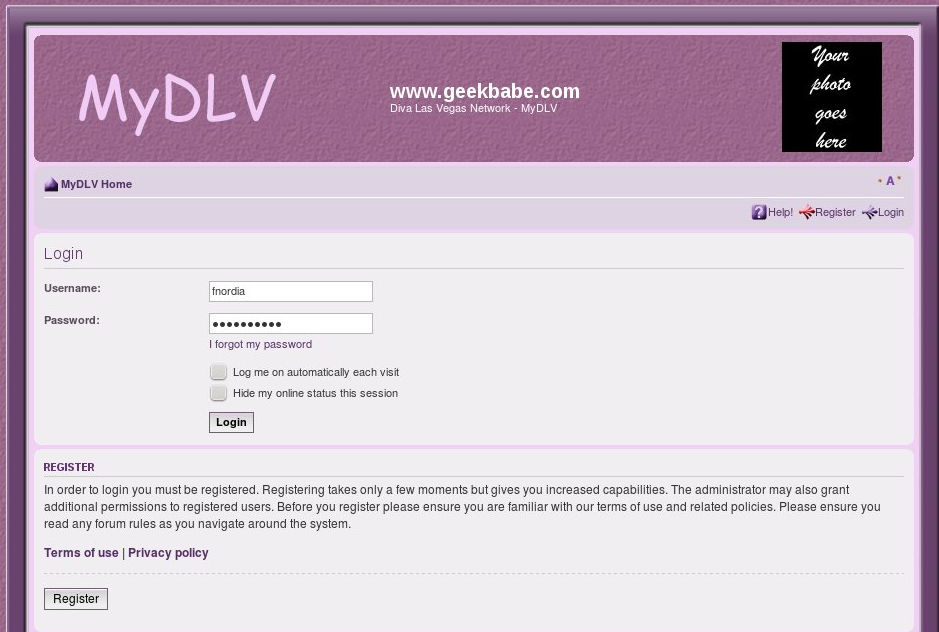
Enter your MyDLV user name in the “Username” space and your MyDLV password in the “Password” space and click on the “Login” button. The main MyDLV screen will now appear.
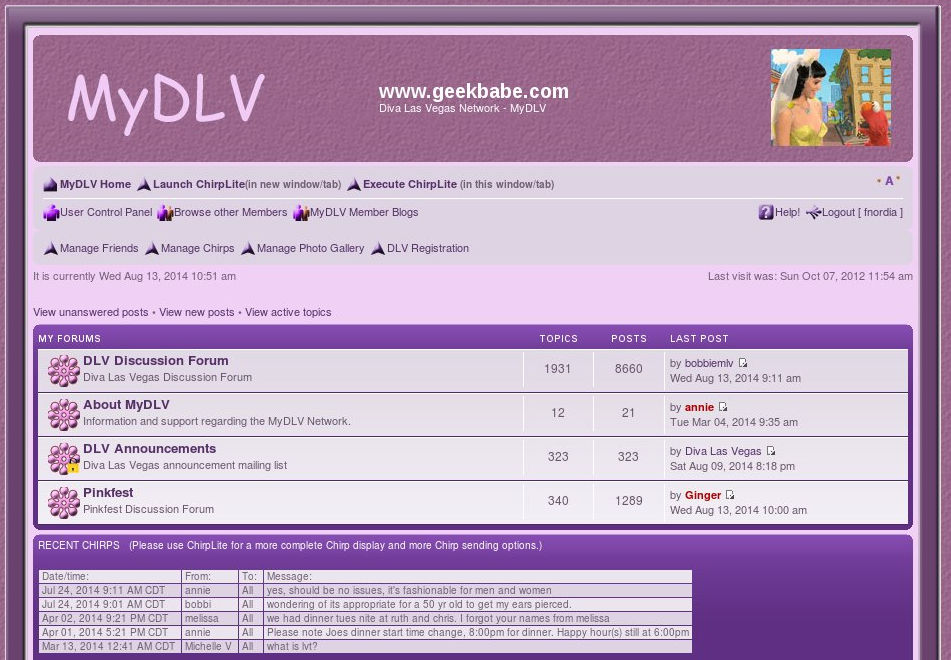
You should now go to the blog section of MyDLV by clicking on the “MyDLV Member Blogs” link on the main MyDLV screen, shown above. The main page of the blog section will now appear.
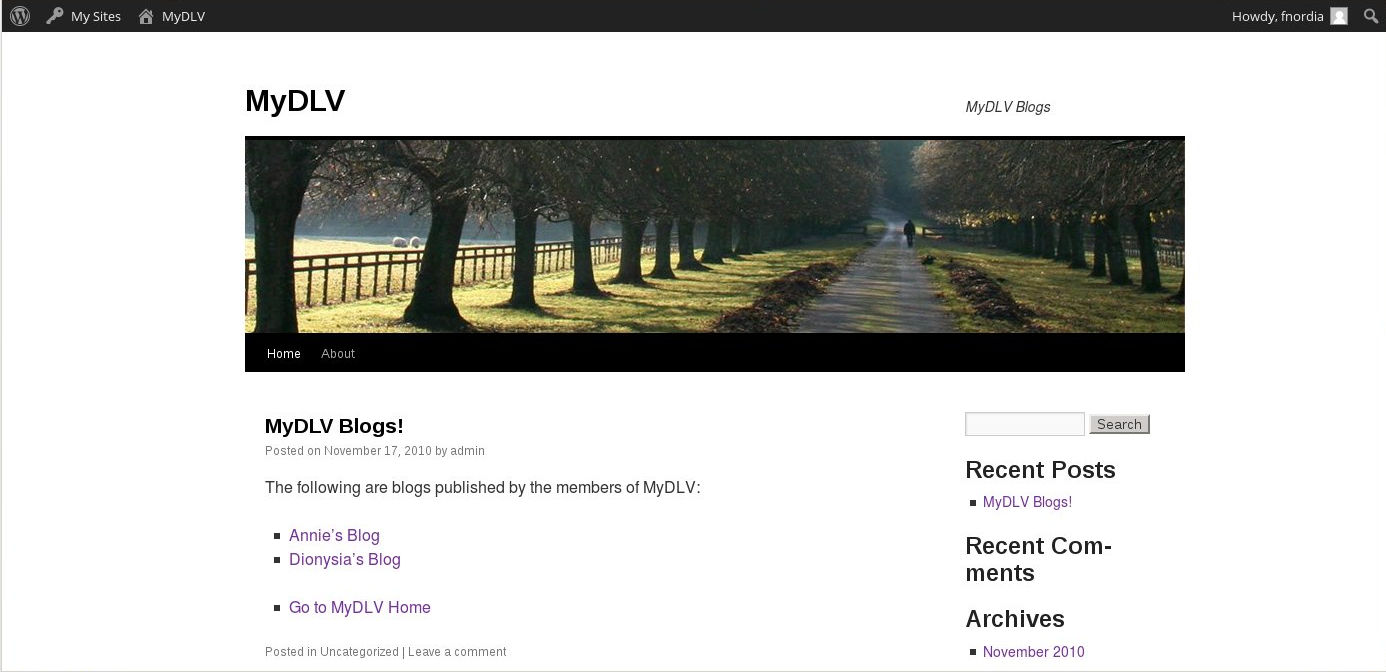
Note that when you are properly logged in to MyDLV, a black bar will appear on the top of the blog section’s main page. The words “Howdy, {yourname}” will appear toward the right of this top bar.
In this next step, we will bring up the dashboard for your blog.
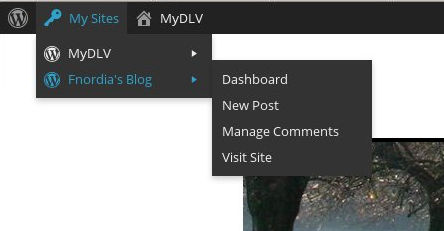
Move your mouse over the “My Sites” label to the left of the black bar on the top of the screen. You do not need to click. A drop-down menu will appear which includes the name of your new blog.
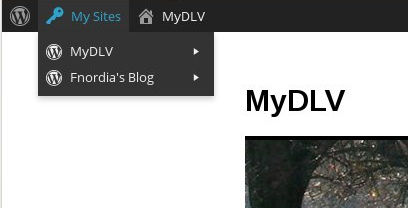
Move your mouse down so the cursor points to the name of your blog. You do not need to click. An expanded menu will appear to the right. Click on the “Dashboard” link on this menu.
The following screen, which is the main dashboard for your blog will now open as shown below.
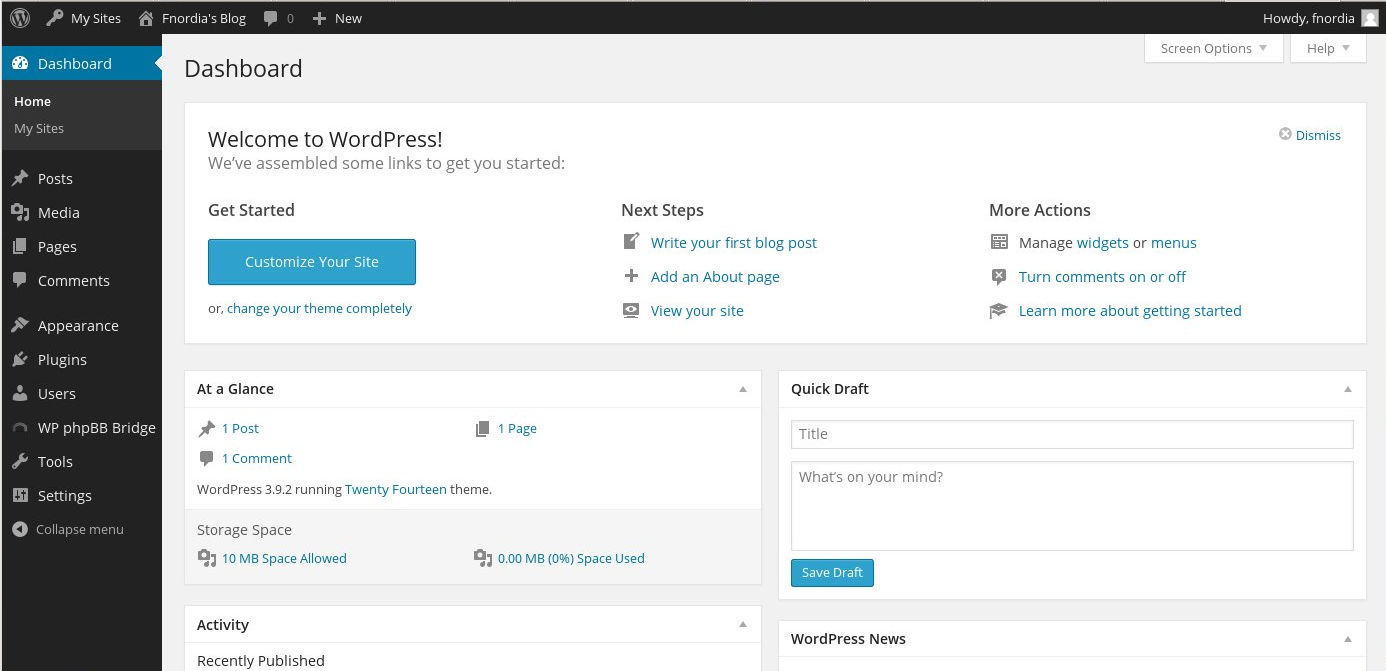
Take a minute or two to examine the dashboard. Although there is nothing that you can do that can’t be un-done or fixed, it’s probably best at this time to avoid clicking on anything that is unfamiliar to you. We’ll go through the creation of an initial test post in these next few steps.
We will now create a test post in order to familiarize yourself with how to create a blog post. We will also add a test image to this post to let you see how images are inserted into blog posts.
To start creating the test, click on the “Write your first blog post” link which is to the center of the dashboard under the “Next Steps” label.
A screen similar to the one shown below will now appear.
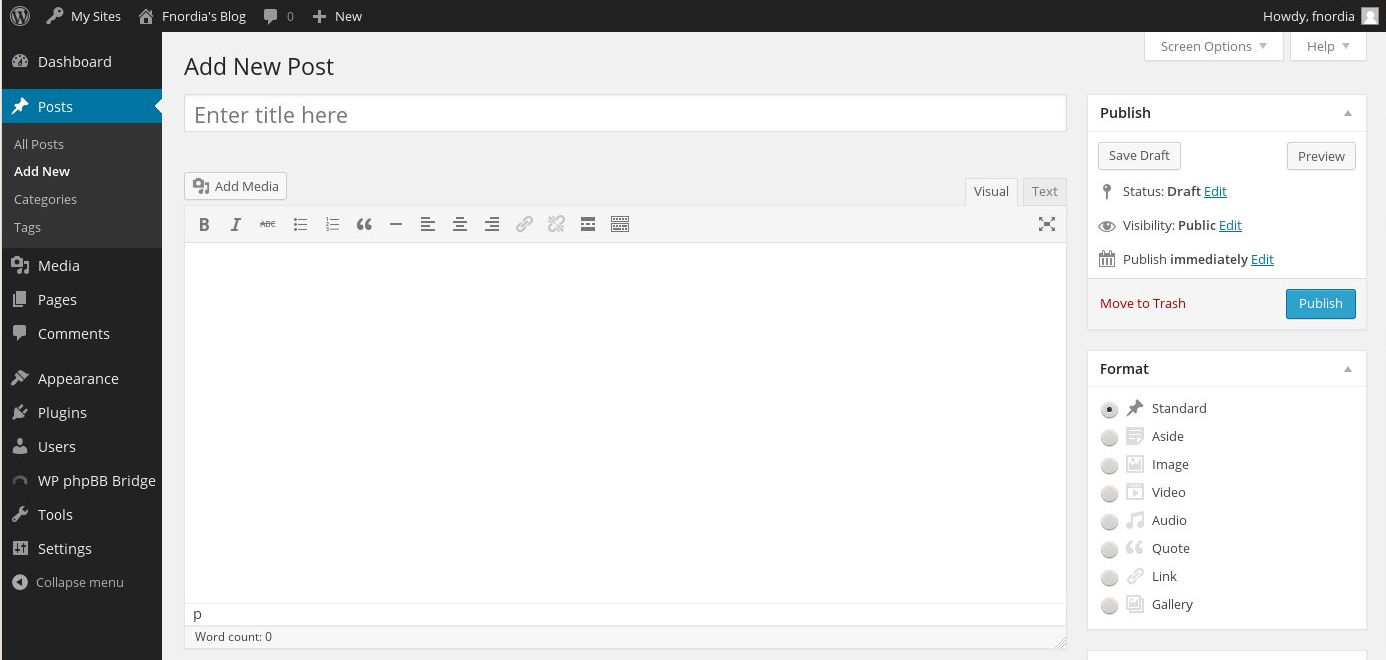
Click on the space holding the text “Enter title here” and enter the title of your first blog post. This can be about anything you wish.
You will notice that there is a large blank space located under the “toolbar” which appears under the title of your blog post. This is the space you will use to compose your post, to add and edit text, to include images, etc.
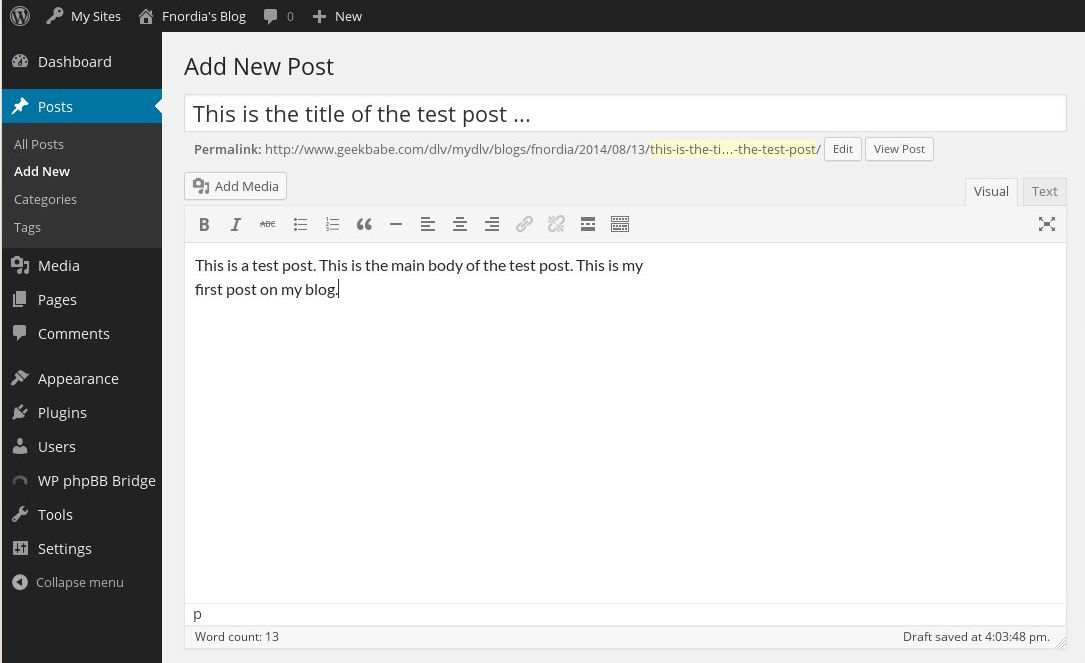
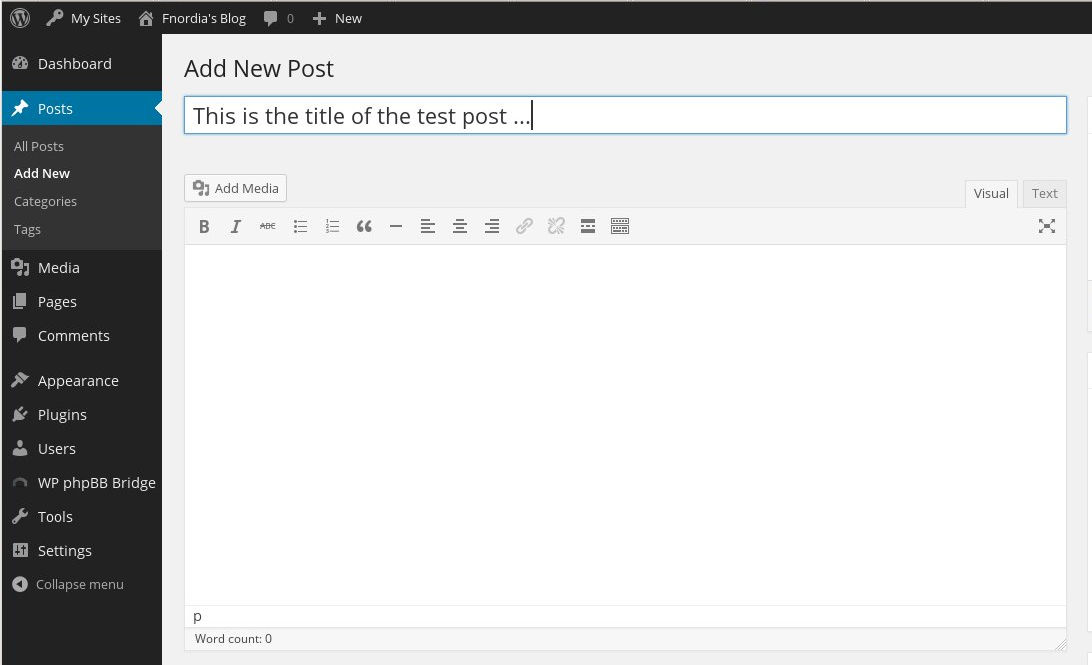
Move your mouse to position the cursor in this blanks space and click. Then enter a few sentences in the space.
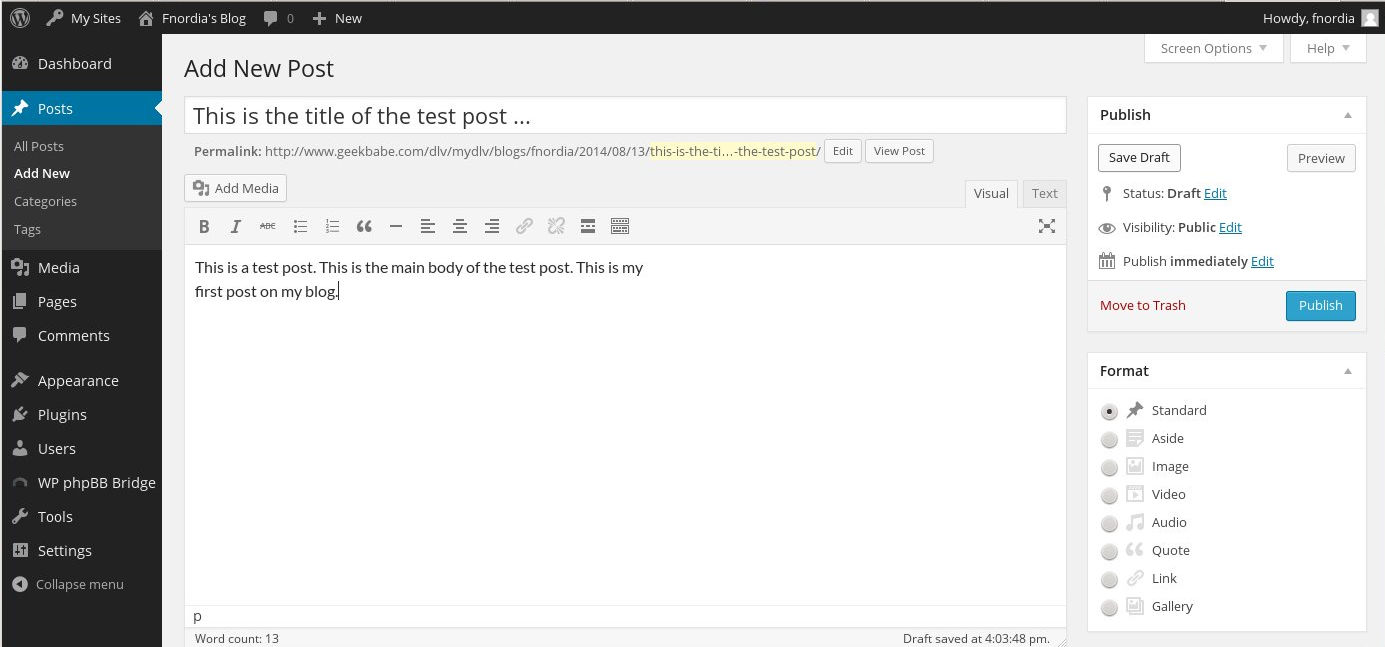
When you have entered the text for your first blog post, we will “publish” the post, even though we are not totally finished with it. This will let you see what happens when a post is published and how the post will look to visitors. Click on the “Publish” button to the right of the screen to publish your post.
A “wheel” will spin as your post is published. When the publish process is complete (usually only a few seconds) you will be returned to the edit screen.
Click on the “View Page” button which appears above the toolbar. This will show your page as it will be seen by viewers.
Take a minute and familiarize yourself with the way your posts will look.
You will notice an “Edit” link on the screen. (It is small, you may have to look for it.) This link will show up for you only, as your blog’s owner and administrator. It will not show up for regular web viewers.
Click on the “Edit” link and you will be returned to the edit post screen. We will now add an image to the test blog post.
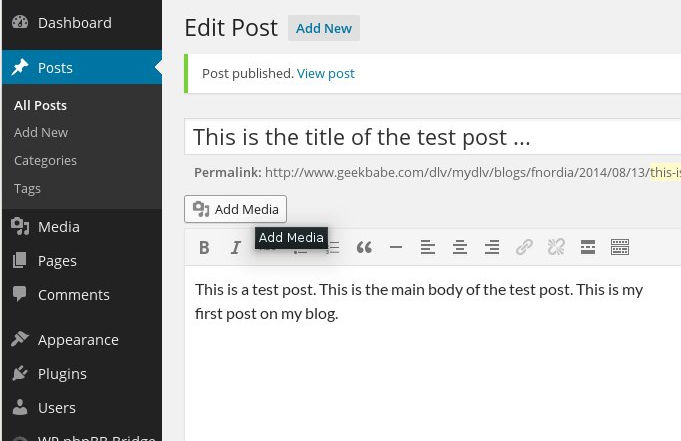
Click on the “Add Media” button which appears immediately above the toolbar. The Insert Media screen will appear, overlaid on the dashboard.
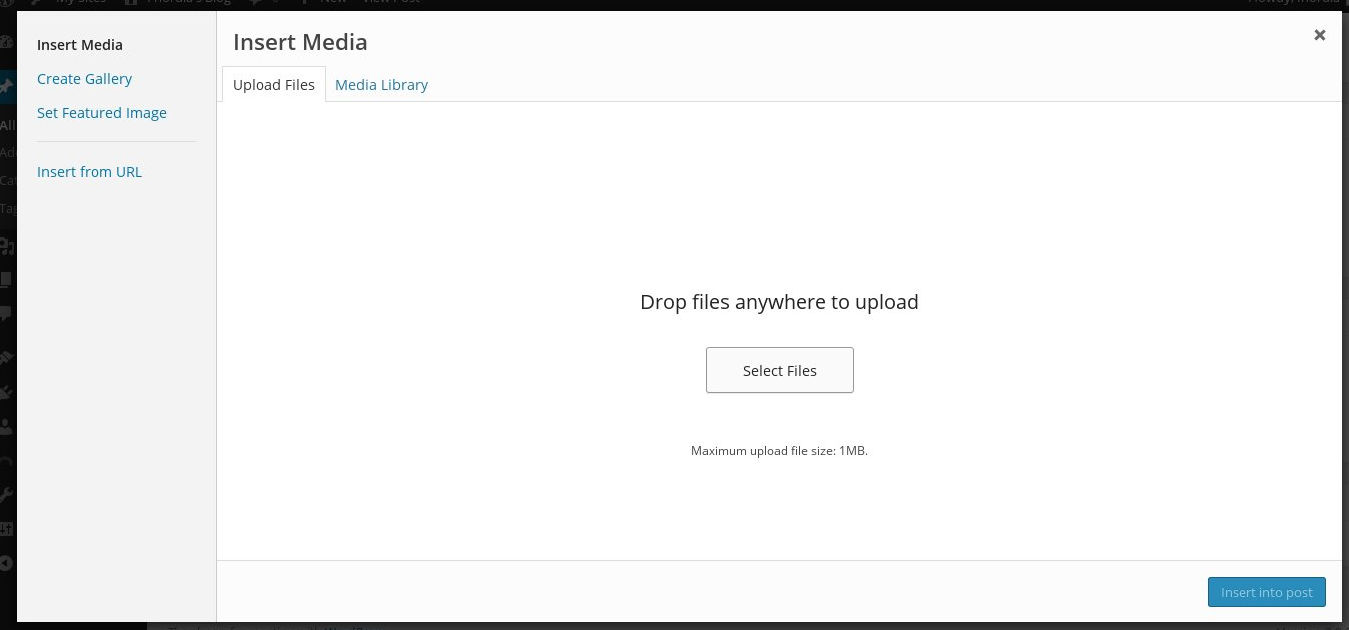
For this example we will manually select an image file to be included in the blog post. When you become familiar with adding images, most operating systems will allow you to simply drag and drop images to add them.
A file selection dialogue box will now appear. The exact appearance of the selection box depends on the type and version of the operating system on your computer.
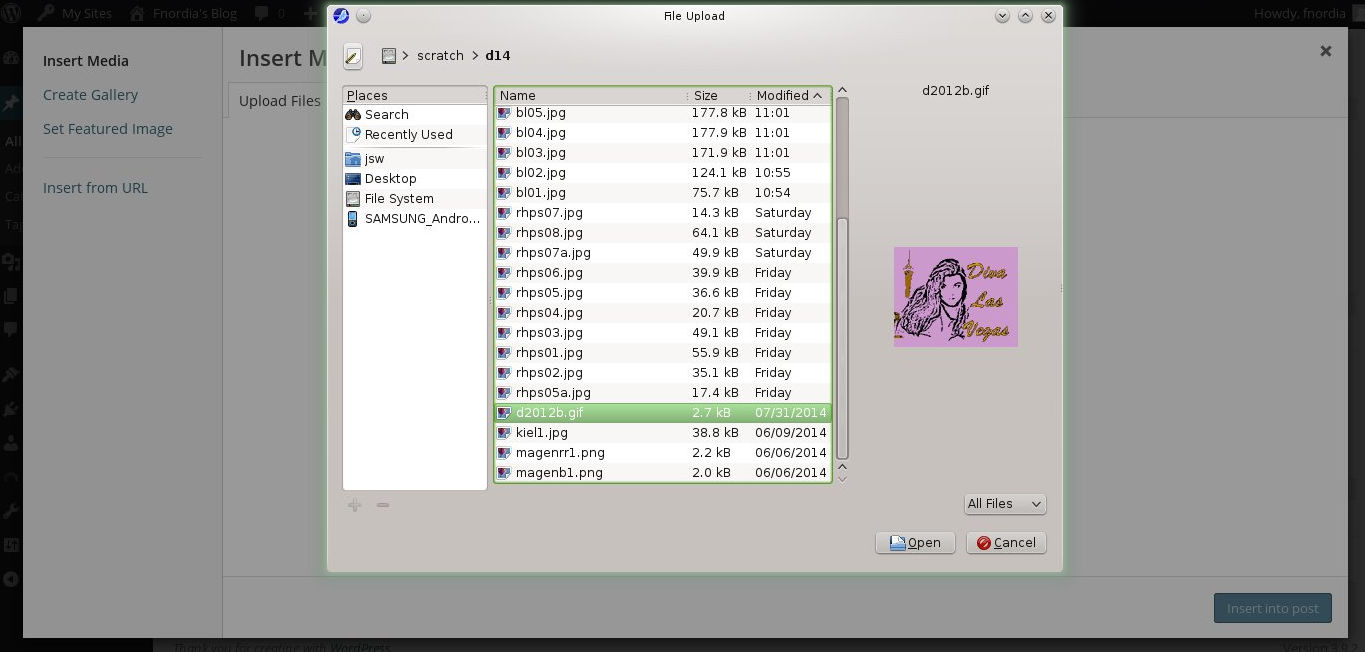
Using your mouse, navigate to any image file (remember, this is only a test) on your computer and click on it. Depending on your operating system, a thumbnail image may or may not appear at this time.
In this example we are using an image of the DLV “Jellomold” logo as an example of an image to be inserted into a blog post. Once you have selected the image, click on the “Open” button (or similar, depending on your operating system.
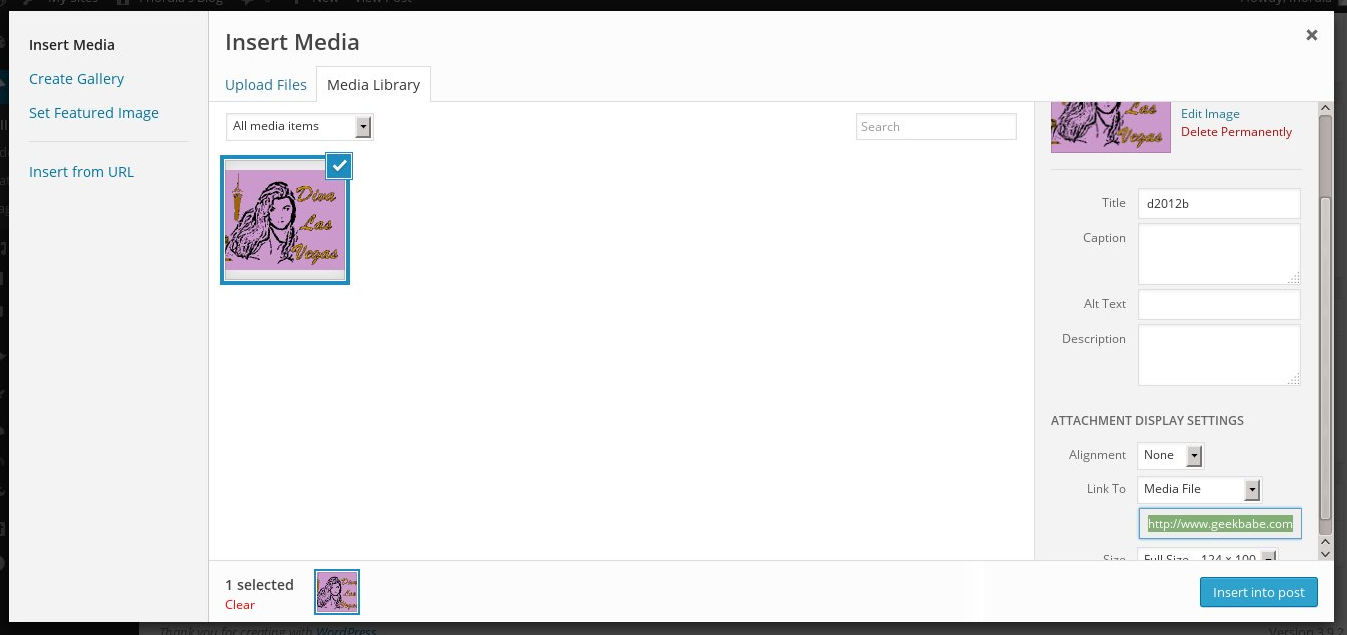
A thumbnail view of your image will now appear on the “Insert Media” screen.

If you wish, you may add a title, a caption, a description, etc., to the image in the spaces provided.
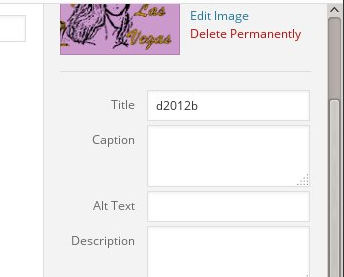
This is optional. In our example here we are leaving most of these blank, and the file name of the image appears by default in the title box.
When you are done adding any information to the image (optionally) click on the “Insert into page” button toward the lower right of the Insert Media screen.
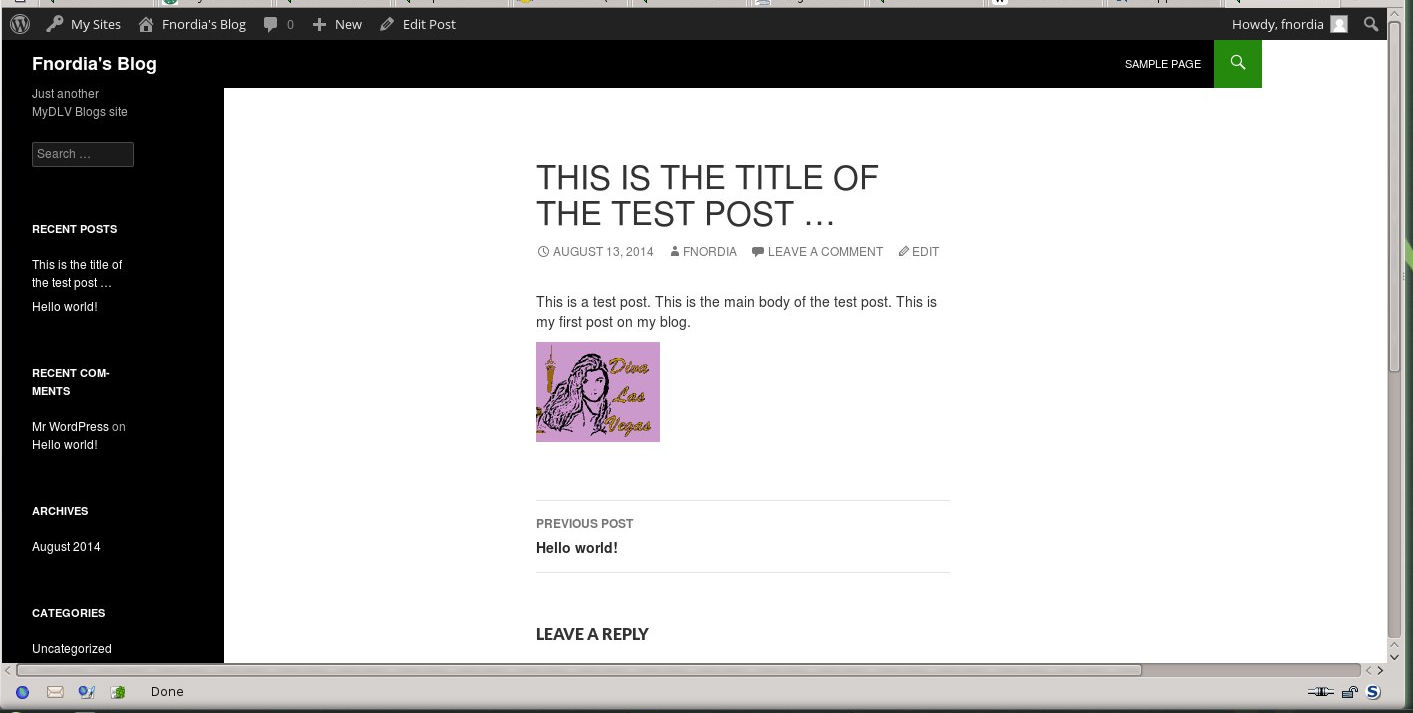
The image will now appear in your blog post along with the text you have entered. To complete your test post, “re-publish” the post using the “Update” button to the right of the screen.
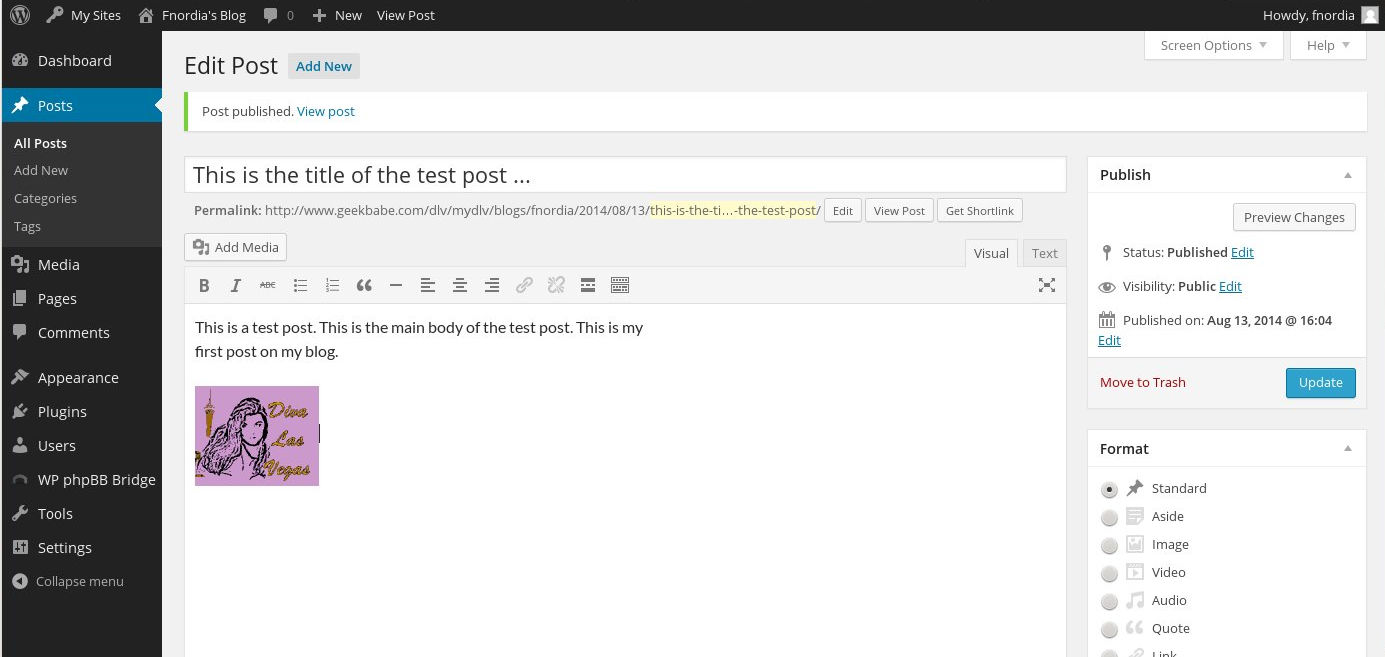
Now click on “View Post” and your post, as published, will appear.
Where do you go from here?
- Edit your test post and make it a real permanent post which may be of interest to those viewing your blog.
- Practice deleting a post by using the dashboard to delete the initial “Hello World” post which appears in each newly-created blog.
- Familiarize yourself with the toolbar by using buttons such as Bold, Italic, Underline,
Strikethough, Text color, etc., to embellish your text. - Use the dashboard “Appearance-Themes” function to change the look of your blog. Several various themes are installed. You can preview your blog using any of the themes before you commit to the change, and you can change back at any time.
- Practice adding a clickable link in your post using the Insert/Edit Link button on the toolbar.
- If you are familiar with HTML, click on the “Text” button to the top right of the editing box. The raw HTML of your blog post will then be displayed instead of a visual layout. You may edit the HTML as needed. Please be careful if you do this, as default style sheets are used, depending on which theme you have selected, and the results of editing HTML are not always what you expect them to be.
- When you have one or more posts which are ready for public viewing, send a brief note to tech@geekbabe.com and we will add your blog to the front page of the blog section.
Advanced Topics:
Exercises for the student:
1. Post a video on Youtube (or other similar service). Add it to your blog. There are many “how to” sets of instructions on the net on how to do this.
2. Create a “page” instead of a post. WordPress supports two different types of entities viewable by the public. “Posts” are the usual blog entries, usually ordered chronologically. “Pages” are more like the static web pages appearing on various sites. (What you are reading now is a “page” created with WordPress.)